
Welcome to the authentication guide for your original artwork from Photonumerique.com. This tutorial will walk you through how to properly apply and activate the Amalea™ NFC tag and the official serial number label included with your artwork.
✅ What You’ll Need

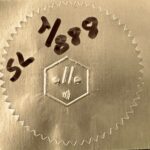
The golden foil serial number sticker (with .//. logo and series number)
A smartphone with NFC enabled
① Step 1: Apply the White NFC Tag (Amalea™ Authentication)

🔹 Location
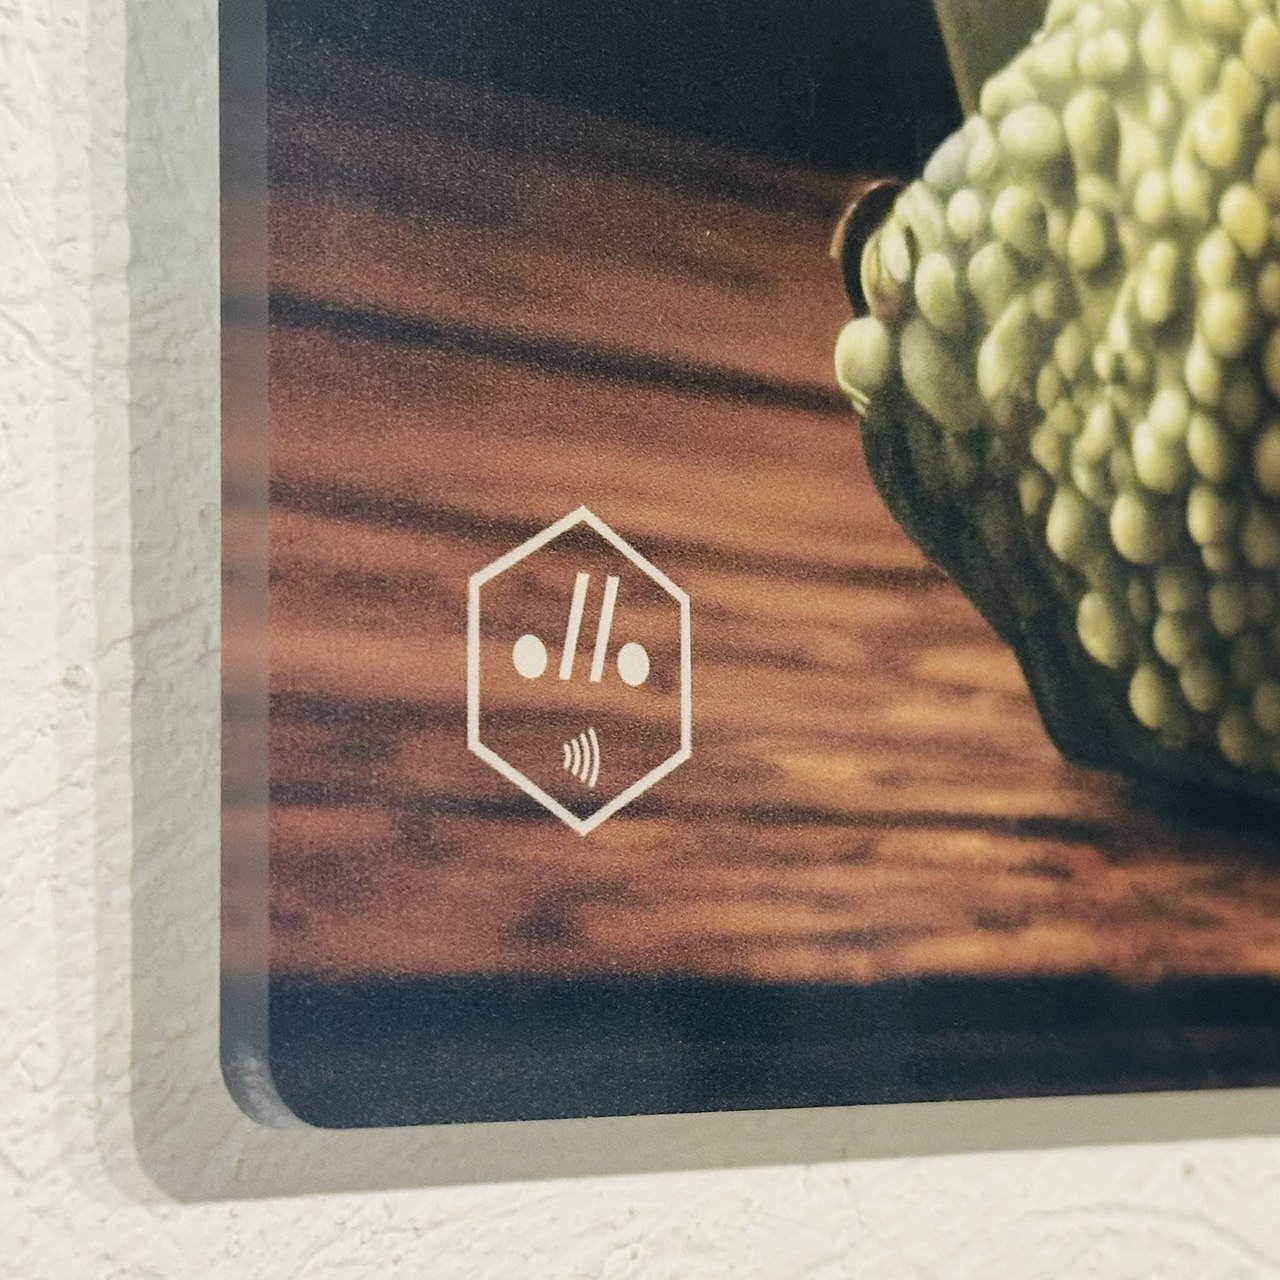
Locate the hexagonal logo on the front bottom-left corner of your artwork. It includes the « .//. » symbol and the NFC icon.
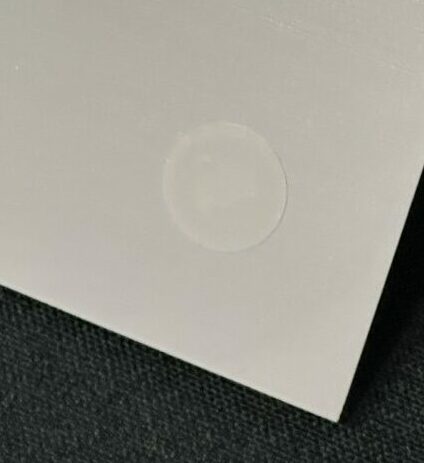
Turn the artwork around and place the white NFC sticker on the back side of the plexiglass, precisely aligned behind the logo.
⚠️ Important: The tag is tamper-proof. Once applied, do not attempt to remove or reposition it. Doing so will disable the chip permanently.
🔹 How to Apply
- Clean the area on the back of the artwork to ensure adhesion.
- Peel the backing and stick the tag behind the logo location.
- Press firmly for 10 seconds.
📱 Test the NFC Activation
- With your smartphone’s NFC function enabled, bring it close to the logo on the front of the artwork.
- A pop-up should appear. Tap it to launch the browser.
- Your authenticated digital artwork will be displayed, confirming originality.
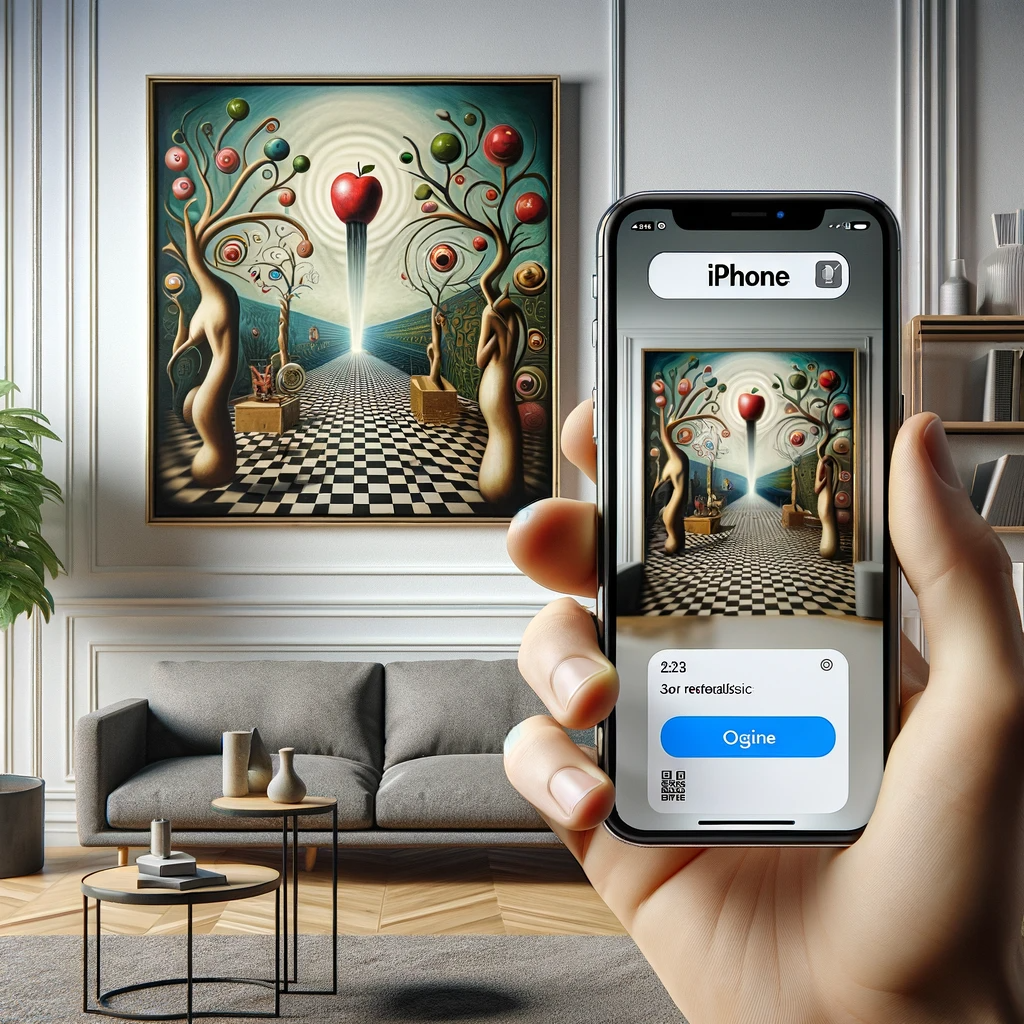
⚠️ No pop-up? Make sure NFC is enabled on your device.
🔗 Help Links:
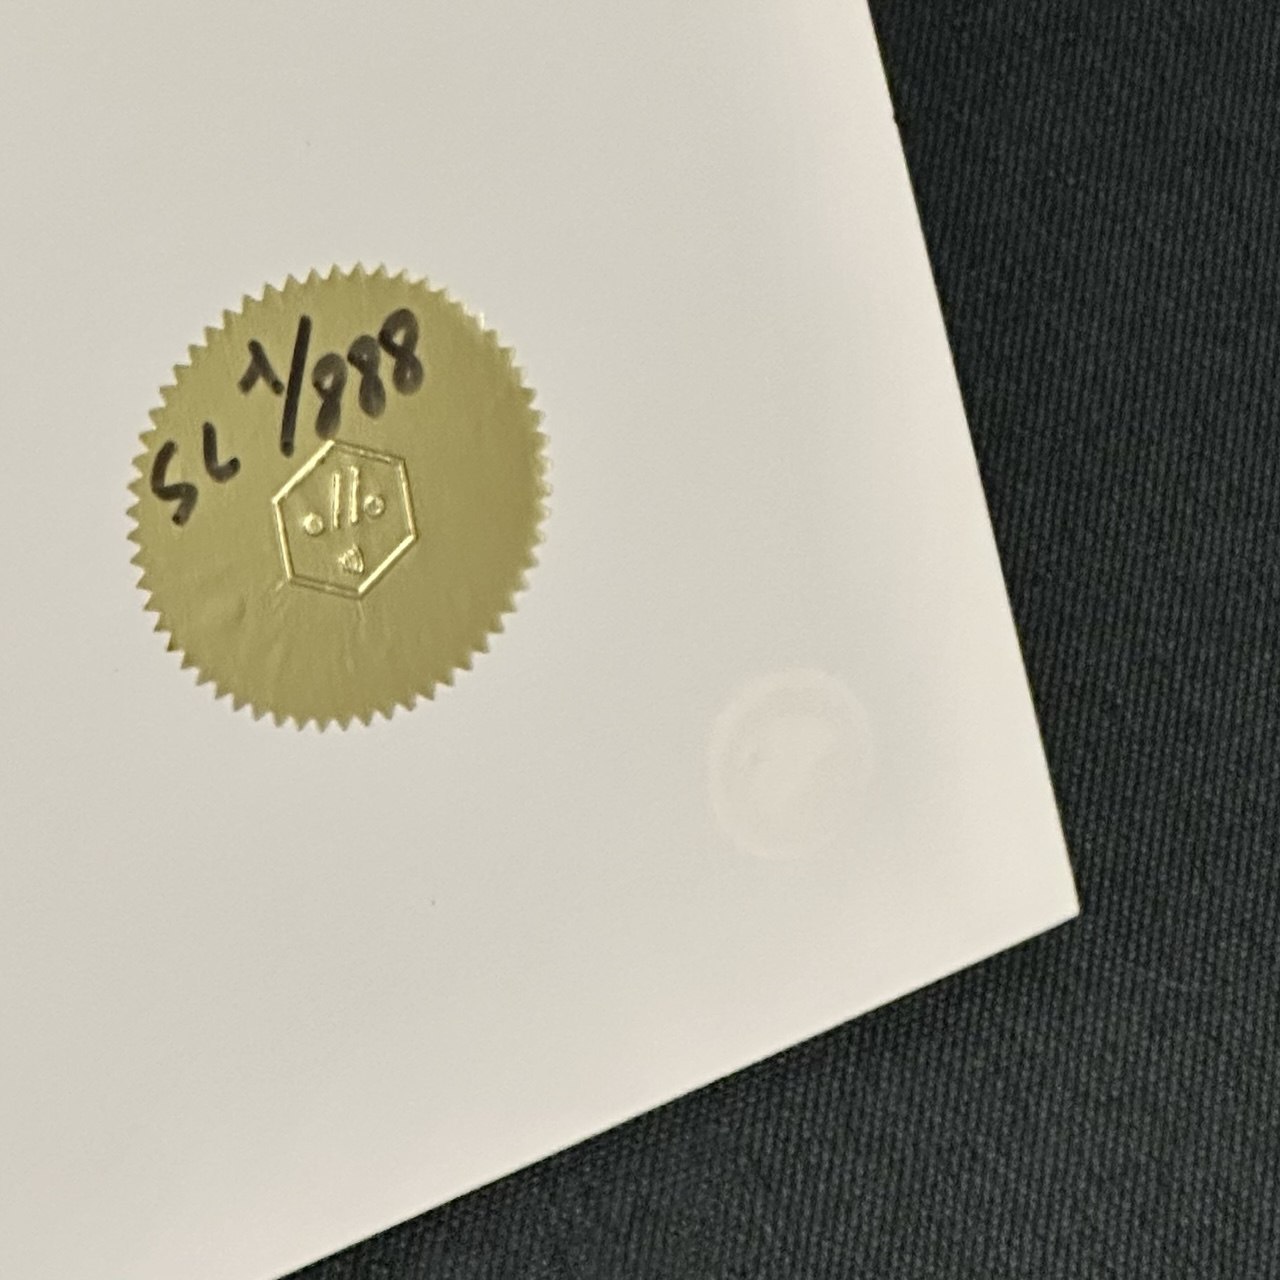
② Step 2: Apply the Golden Serial Number Label
This sticker contains:
- The photonumerique.com logo
- The official serial number (e.g., SL 1/888)
⚠️ Do NOT place it over the white NFC tag.
🔹 Recommended Placement:
- On the back right side of the artwork
- Or, centered on the back panel (verso)
Apply gently and press to ensure full adhesion. This label offers a physical guarantee of your limited-edition piece and adds an extra layer of authenticity.
🌟 You’re Done!
Your work is now fully activated, certified, and protected.
Display it proudly — and don’t forget: Art is Fun!
For any support, contact-us